Do you want to showcase your real estate listings online without breaking the bank? Many people feel overwhelmed by technical tasks like installing IDX integration and building advanced property search features.
Real estate websites often need tools—like map searches, interactive property pages, and fresh MLS listings—that typical websites do not include by default. The good news is that WordPress offers a flexible path. If you follow simple steps, you can create your professional real estate site, even if you don’t consider yourself “techy.”
Below is a step-by-step plan for building a WordPress IDX website. This is important for agents who want complete control and a budget-friendly path to success.
You don’t need advanced coding skills. You need a domain name, hosting, a WordPress theme that supports real estate features, and a reliable IDX plugin. That combination will allow you to grow your real estate business with updated listings, interactive maps, lead-capture forms, and more.
What’s an IDX Website?
IDX stands for “Internet Data Exchange.” The technology pulls real estate listings from a local MLS into approved websites. When an agent or broker enters data into the MLS, IDX sends it to each website with permission to show it.
This keeps properties on your site in sync with official MLS information. Many property search portals rely on IDX to keep listings fresh, so having your IDX setup helps attract leads to your site instead of large listing hubs.
Why It Matters: The real estate industry revolves around data accuracy. Your website will stand out if it offers nearly real-time property updates. It will boost credibility with people searching for homes because they see current listings with correct pricing and status.
You can also arrange unique pages for neighborhoods, advanced searches, or interactive maps, which many standard website templates don’t include out of the box.
Building an IDX Website in Nine Steps
Real estate sites can be created in multiple ways: You could hire a developer, but that might cost thousands. For many agents, picking WordPress is simpler. It allows you to add features with plugins, switch up your website’s style, and manage everything from one dashboard. Below is a nine-step path to launching a real estate website with IDX integration.
Before moving forward you can also look over this guide: How to Build a Real Estate Website with WordPress – some informations are complementary but you can also discover new details.
Step One: Outline Your Goals
Before diving in, decide which features you need. Some agents want advanced search tools, while others prefer to focus on listing galleries and local guides. Planning now prevents problems later.
- List your must-haves. Interactive maps, mortgage calculators, lead forms, or listing slideshows might be on your list.
- Look at examples. Compare websites you admire. Write down elements that fit your brand.
- Match your style. Keep colors and fonts consistent with your personal or brokerage brand.
Some agents also want a dedicated section for property videos, blog posts, or market updates. You might add specialized landing pages for those moving from out of town or for luxury properties. Please write it down now so you can search for a theme and plugins that match these needs.
Step Two: Pick a Web Host
Once you know your goals, you need hosting for your WordPress site. Hosting is the online home that stores your files and delivers them to visitors.
Key considerations:
- Speed. A fast host keeps your listings and images loading quickly. Slow load times can drive away potential buyers or sellers.
- Reliability. Look at uptime track records and customer support availability.
- Ease of setup. Many hosts offer one-click WordPress installation.
Some hosts provide free domain registration for the first year. Others let you create professional email addresses on your domain, which can be handy for branding. Hosting costs vary, but you can often find plans starting at just a few monthly dollars.
Attention here: $3 hosting will provide that much quality and power. If you plan a website with 20 pages, that will work. If you want a website with several thousand listings from MLS, you will need a better solution—something in the $15 range per month should work.
Step Three: Get a Domain Name
Your domain is the website address people type in their browsers. Pick something short, memorable, and aligned with your brand or name.
- Keep it simple
- Use a .com if you can
- Avoid tying it to your current brokerage in case you change offices
You can register a domain with your hosting provider or a separate registrar. The cost is generally manageable. Some domain names cost more if they’re short or popular, but you’ll usually pay around $10 to $15 a year.
Step Four: Install WordPress
Hosting companies often make WordPress installation easy. After you’ve set up your hosting and domain, you’ll likely find a WordPress installer in your host’s dashboard. Click a button, follow any prompts, and you’ll have an essential website ready for customization.
In your WordPress dashboard, you’ll manage the following:
- Pages
- Blog posts
- Theme changes
- Plugins
This is also where you’ll add users or create different user roles if you have team members.
Step Five: Select an IDX Plugin
The IDX plugin connects your site to the MLS data. It powers advanced search features, interactive maps, and listing updates. While some solutions are free, you’ll likely pay a monthly fee for robust features like map searches or SEO-friendly property pages. These can quickly pay off if they help you generate more leads.
Popular IDX plugin features:
- Automated MLS listing refresh
- Filtered searches by neighborhood, price, or property style
- Map-based searching and property highlights
- Lead capture and contact forms
One example is a plugin that provides property slideshows, listing galleries, and an option for visitors to set alerts for new properties in their area. That’s an easy way to keep them returning to your site instead of browsing elsewhere.
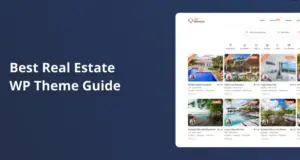
Step Six: Pick & Install Your Theme
WordPress themes control the overall look of your site. An actual estate-friendly theme often includes:
- Built-in home search or property listing widgets
- Design layouts that highlight large images
- Space for agent bios, market updates, and testimonial sections
Many real estate themes integrate seamlessly with IDX plugins. This saves time because you won’t have to force-fit real estate tools onto a theme designed for a restaurant or fashion blog.
Some real estate themes include sample images showing large property photos or neighborhood overviews. You can replace these with your own visuals.
Points to consider:
- Responsive design
- Customizable headers and footers
- Built-in map search or advanced filtering
- Good reviews from other agents or developers
After choosing, install and activate your theme in WordPress. You can typically do this by navigating to Appearance > Themes and uploading the theme’s file or using the WordPress theme directory.
Step Seven: Add Your IDX Plugin
With your theme in place, activating your IDX plugin is the next step. You’ll find the Plugins area in WordPress, where you can upload or search for your chosen IDX solution. Once it’s installed, go to the plugin’s settings or setup wizard to link to your MLS feed.
- Enter your license or activation key (provided by the IDX service).
- Confirm your MLS region is supported.
- Preview how listings appear with your chosen theme.
Some plugins let you generate specialized pages for each neighborhood or city. Others come with shortcodes to embed property search boxes on any post or page. You can also place IDX widgets in sidebars so people can search by price or property type from any page they visit.
Step Eight: Customize the Theme
Now, it’s time to shape your site’s look. Real estate themes typically include easy ways to alter headers, footers, and color schemes. Some offer drag-and-drop page builders that make customization more intuitive.
Things to customize:
- Logo and Header: Upload your own logo or agent headshot. Adjust the header to show a phone number or contact form.
- Navigation Menu: Add pages for buyer guides, seller guides, local market stats, or “About Me.” Clear labels help visitors find what they need.
- Widgets and Sidebars: Insert property searches, featured listings, or call-to-action forms.
- Footer: Include social media links, office addresses, disclaimers, or a brief note about your specialties.
Some themes have built-in color pickers and font selectors. Tweak these elements to fit your branding, but keep things consistent. If you do it right, prospective clients will recognize your style and find your site easy to explore.
Step Nine: Build Your Website Pages
You have WordPress, a theme, and an IDX plugin. It’s time to fill your site with pages that match your goals from Step One. Real estate sites often include:
- About Page. Highlight your background and approach to serving clients.
- Listings. Show properties by location or type.
- Buyer Guides. Offer tips, explain finances, and clarify the home-buying journey.
- Seller Pages. Share advice on pricing, marketing, and staging.
- Market Updates. Post local data, new construction info, or real estate trends.
- Contact Page. Ensure visitors can reach you through a form, phone, or email.
Alongside these static pages, blog posts can keep your site looking fresh. Short articles about neighborhoods, design tips, or real estate market shifts can draw people from search engines.
Expanding Your Website With More Tools
Some new agents fear a DIY site might lack advanced extras, such as property maps or specialized searches. The reality is that most IDX plugins handle these features well:
- Interactive Maps: Visitors can view properties based on location pins.
- Advanced Search: Users can filter listings by price, square footage, or property type.
- Auto-generated Listing Pages: Many plugins make generating entire sections for specific communities or property categories easy.
This is why WordPress is a popular choice for realtors. You can add or remove plugins as your business evolves, and you don’t need advanced coding knowledge to keep your site relevant.
Promoting Your Real Estate Website
Once your IDX site is set up, you must get it in front of potential buyers and sellers. A few approaches:
- Share on Social Media
- Post new listings on channels your prospects use.
- Encourage followers to check out your advanced search tools.
- Create Local-Focused Pages
- Optimize them for search engines by including the neighborhood name and nearby landmarks.
- Provide helpful data, like school ratings or local event info.
- Offer Extra Resources
- Quick home valuation guides or a simple mortgage calculator can be freebies.
- E-books about preparing for a home sale or purchase also capture leads.
Search engine optimization (SEO) helps your site rank well. Even basic SEO tasks—like setting page titles and writing descriptive text—can give you a significant advantage in local results. But there are plenty more you can do: look over this real estate seo guide.
Capturing Leads & Building Your List
A steady stream of leads drives your business. Even a site that looks great can lose visitors if it lacks conversion elements. Key strategies:
- Pop-ups or Slide-ins: Offer an email sign-up for advanced property alerts or a local market newsletter.
- Landing Pages: Direct social media or ad campaigns to custom landing pages with unique property photos or buyer tips.
- Contact Forms: Place forms near the top of each listing page so interested buyers can request more details right away.
It’s also helpful to follow up quickly. If someone fills out your form, they’ll expect a response soon. Automation or notifications can ensure you never miss a lead.
Mastering WordPress & Staying Motivated
Real estate sites might feel tricky when you start. Yet many agents with limited technical skills manage to maintain and update their sites. WordPress has a vast community of theme developers, plugin creators, and helpful users. You can find blog posts, video tutorials, and how-to articles on everything from installing new features to customizing design elements.
- Keep your site updated: Themes and plugins often release new versions. Update regularly to fix bugs or security risks.
- Protect with backups: Set up an automatic backup to restore your site if you encounter any issues.
- Test new features: You may want to add chat widgets or real-time analytics over time. Explore these options as your site grows.
IDX Real Estate Website Tips for More Leads
Even with a solid design, you’ll want to draw in many visitors and convert them into clients. In addition to the promotional steps above, here are a few tips:
- Content for Specific Niche Audiences
- Write short guides or blog posts for first-time buyers or seniors looking to downsize.
- Offer relevant resources, like a “Top 5 Family-Friendly Neighborhoods” list.
- Track Site Metrics
- Tools like Google Analytics tell you where visitors come from and which pages they click most often.
- Adjust your menu layout or calls to action based on those insights.
- Stay Active with Updates
- Regularly post new listings and local market snapshots.
- Keep your brand visible with timely property news or open house schedules.
Achieving Your Goals With WPResidence & MLSImport.com
You can achieve all the goals highlighted so far by using the WpResidence theme and the MlsImport.com IDX / Reso plugin
Here is a quick review :
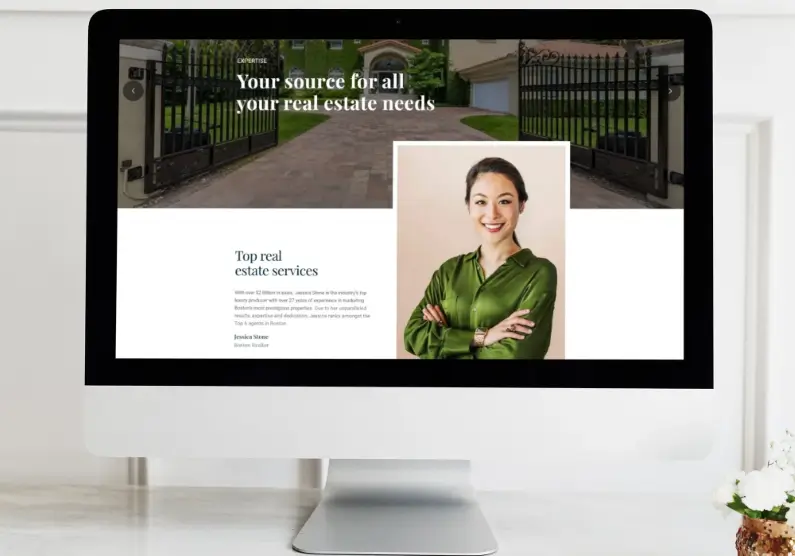
Tailored Design & Brand Identity
WPResidence includes a range of prebuilt layouts made for property listings. You can personalize these layouts with your color palette, images, and agent details. There are handy tools for:
- Feature-rich property templates
- Flexible header and footer styles
- Easy-to-spot lead forms
This arrangement supports your brand and creates a memorable online space. You don’t need to dig into code to arrange pages, choose fonts, or tweak design elements.
Automatic Listings With MLSImport.com
MLSImport.com syncs property data from your local MLS straight into WordPress. This approach helps your site display new listings, updated prices, or changes in home status without extra input on your end. Key capabilities include:
- Filtering by region, price range, or property type
- Integrating MLS fields with your WPResidence listings
- Scheduling frequent data refreshes
The plugin will keep your properties up to date. You can also spotlight certain neighborhoods or price brackets to guide visitors toward specific property categories.
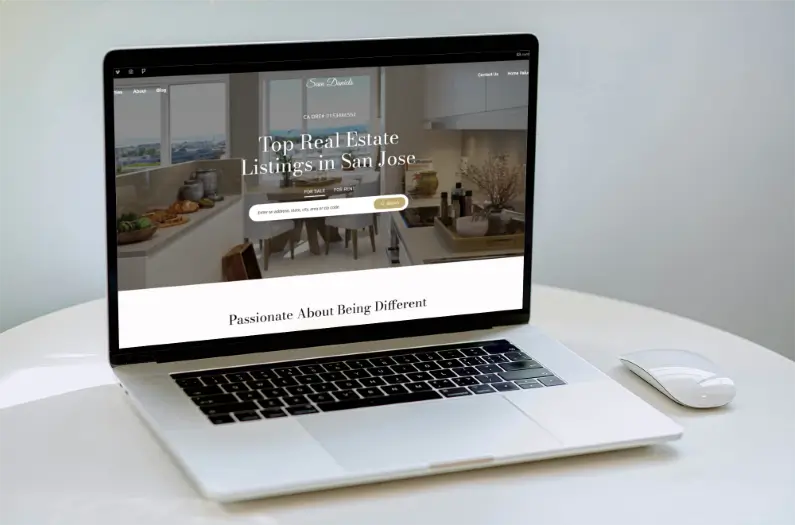
Seamless Advanced Search & Maps
WPResidence packs an advanced search bar. You can pair it with MLSImport.com to show precise, filtered options for potential buyers. People can browse listings by square footage, lot size, or price. Some of the theme’s templates include interactive maps highlighting locations with markers. This level of detail keeps users on your site longer.
Lead Capture Tools
Attracting buyers and sellers is about more than showing listings. WPResidence allows you to insert contact forms, call-to-action messages, and pop-ups. With MLSImport.com providing real-time listing details, visitors have fresh reasons to sign up for alerts. You can place these sign-ups on property pages or neighborhood guides so you collect leads at just the right moment.
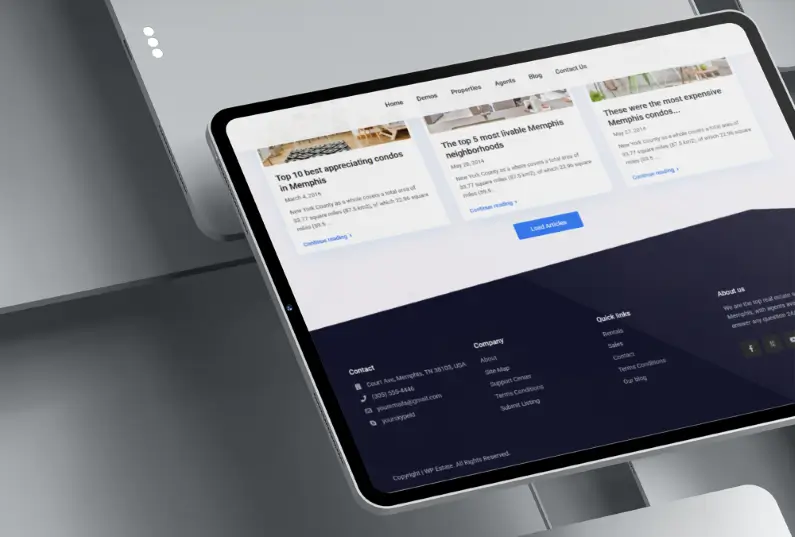
Local SEO & Content Opportunities
Agents can use WPResidence’s blog features to publish market insights, community spotlights, or open house schedules. MLSImport.com then backs up those posts with relevant listings. This approach adds new content and listing links, giving search engines more reasons to rank your pages.
Simple Maintenance & Growth
Both WPResidence and MLSImport.com include updated features. You can refresh your theme with a click and pull the latest MLS data on a set schedule. This frees you to focus on selling homes instead of troubleshooting your site. If your business grows and you need more features, you can add extra plugins or page-building elements without redoing your entire design.
You can build an IDX website that checks all the boxes by blending WPResidence’s real estate layouts with MLSImport.com’s constant property data. Your site will look polished, feature current listings, and welcome leads through every page. It’s a budget-friendly way to handle MLS integration, design customizations, and brand-building efforts in one place.
Frequently Asked Questions (FAQs)
How much does an IDX website cost?
Depending on your setup, you might pay for hosting (as little as a few dollars a month), a domain (around $10-$15 yearly), an IDX plugin (somewhere between free and $150 monthly), and a premium theme if you want advanced designs. Overall, it can be a budget-friendly option compared to hiring a custom developer.
Do I need a specific IDX provider?
No. There are multiple IDX providers. Some integrate better with specific themes and MLS systems. The best approach is to confirm compatibility with your local MLS and pick a provider that fits your feature list.
Is WordPress too complicated for beginners?
WordPress is popular partly because it’s user-friendly. Many hosts offer one-click installation. Themes and plugins take care of the heavy lifting. You can learn the basics quickly; advanced features are often just a plugin install away.
How do I protect my site and keep it secure?
Constantly update WordPress, your theme, and your plugins. Pick strong passwords. Back up your site automatically. Some hosting companies also include security add-ons, which can block common threats.
Bringing It All Together
An IDX-equipped WordPress website can power your real estate marketing without requiring thousands of dollars in custom development.
Following the steps above, you can plan your site, choose the right tools, and add interactive listing features that pull data directly from your MLS.
Once your website is live, attract visitors through SEO, social media, and valuable local content. Then, convert those visitors into leads using forms, pop-ups, or specialized landing pages. With consistent effort, your IDX website will become a reliable resource for buyers and sellers while helping you grow your reputation as a local expert.