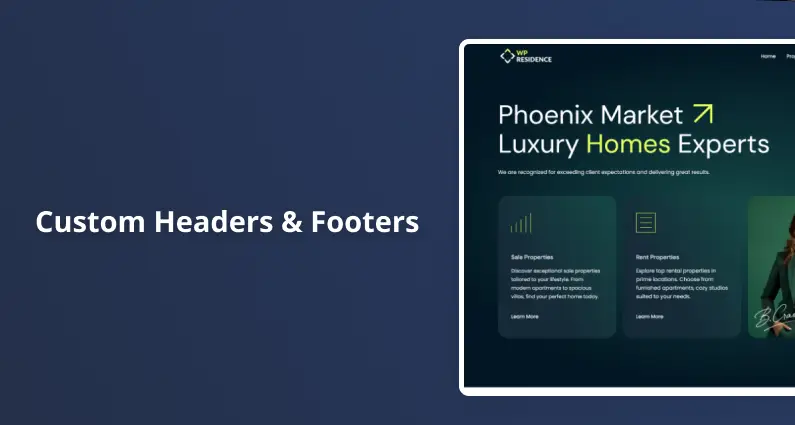
Ever wanted to create stunning custom headers and footers for your real estate website without breaking the bank? Today I’m going to walk you through exactly how to do this using WPResidence Design Studio templates and Elementor’s free version.
Plus, I’ll show you some cool tricks for assigning different headers and footers to specific pages or categories!
You can also watch this video that will teach you the same thing
Getting Started: What You Need
First things first – make sure you have WPResidence Design Studio plugin version 5.2.0 installed and activated. You can grab it from the install plugins notice or head over to your theme settings under plugins.
Once it’s up and running, you’ll notice a shiny new menu called “WPResidence Templates” – that’s your gateway to custom template heaven!
Creating Your Custom Templates
Here’s where the magic happens. From the WPResidence Templates menu, you can create custom templates for all sorts of site elements:
- Headers
- Footers
- Property pages
- And much more!
Step 1: Set Up Your Template
Click “Add New Template” and give it a catchy name. Then choose either “Header” or “Footer” as your template type.
Pro tip: If you select “yes” for Elementor’s full-width template system, you’ll get those sweet full-width settings and automatically overwrite the theme content. Pretty neat, right?
Step 2: Design First, Assign Later
Here’s a rookie mistake I see all the time – don’t assign your template to pages just yet! Always finish your design first. Trust me on this one.
Hit “Publish” on your template, and when you refresh, you’ll see new display control options appear. Ignore those for now and click “Edit with Elementor” to open up the visual builder.
Designing Your Header (The Fun Part!)
Once you’re in Elementor, you’ll see a dedicated section for header and footer widgets on the left side. But here’s a time-saver: instead of starting from scratch, use one of WPResidence’s pre-built examples!
Just click the WPResidence icon in the editor, navigate to the header section, and browse through the ready-made designs. Found one you like? Simply click “Insert” and boom – template loaded!
What You Get Out of the Box
These templates come packed with useful widgets:
- Navigation menu widget for your main menu
- Phone number widget for contact info
- User login widget (fully stylable with Elementor)
- Site logo (pulls from your theme options automatically)
The best part? Everything is 100% customizable. Fonts, colors, spacing, hover effects, responsive settings – you name it, you can tweak it.
Mobile-Friendly by Default
Don’t worry about mobile users! There’s a built-in mobile menu in the main navigation widget. You can control colors, positioning, and styling using Elementor’s options. Your visitors will have a smooth experience no matter what device they’re using. 📱
Making It Live: Display Rules
Once your design is perfect, hit “Publish” to save your changes. Now comes the cool part – deciding where your custom header shows up!
Go back to the WPResidence Studio screen and edit your template. In the Display Rules section, you can:
- Apply it to your entire site
- Show it only on specific page types (properties, agents, agencies, etc.)
- Target specific categories or posts
- Exclude it from certain areas (like showing everywhere except singular posts)
The flexibility here is incredible – you can get really specific with your targeting!
Footer Templates Work the Same Way
The process for creating footer templates is identical. You can:
- Import pre-built footer templates
- Customize content, colors, and layout
- Assign footers to specific pages or site-wide
- Even integrate with heatmap templates if needed
And there you have it! You now have a completely custom header and footer created with Elementor’s free version that’s perfectly integrated with your WPResidence theme. No premium plugins required!
The beauty of this system is how flexible and user-friendly it is. Whether you’re a beginner or a seasoned pro, you can create professional-looking headers and footers that match your brand perfectly.


